With the introduction of WSL2, it’s now pretty easy to do great work inside of Windows, specifically training machine learning models. This is doubly so as Microsoft brought DirectML support to WSL2, meaning this is one of the easiest way to train models if you don’t have an NVIDIA card.
However, I’m usually not directly at my Windows machine. It’s a desktop machine with a nice RTX 3090 in it. It is not portable. But what if I want to work on it from somewhere else? I could always use Remote Desktop, which actually works well, but it seems like it would be more “normal” if I just used SSH.
Scott Hanselman has written up the complicated and the easy ways to add SSH server support to WSL2, but I found both of these lacking. The easy way forces you into bash as your shell and causes issues with some other programs. The complicated way just isn’t reliable.
What if I told you there was a pretty easy way that was much more reliable? A way that allowed you to SSH into both your Powershell and your preferred Linux shell? There is. It’s simple. It works.
Enable Windows SSH Server
Install Windows SSH Server
Windows has had an SSH server built in for quite some time now. It’s pretty easy to install and get going, start out by opening up an administrator window in Powershell:
# Install the OpenSSH Client
Add-WindowsCapability -Online -Name OpenSSH.Client~~~~0.0.1.0

# Install the OpenSSH Server
Add-WindowsCapability -Online -Name OpenSSH.Server~~~~0.0.1.0

# One-time start the OpenSSH Server
Start-Service sshd

# OPTIONAL but recommended: start OpenSSH Server automatically
Set-Service -Name sshd -StartupType 'Automatic'

# Confirm the Firewall rule is configured. It should be created automatically by setup.
Get-NetFirewallRule -Name *ssh*

# There should be a firewall rule named "OpenSSH-Server-In-TCP", which should be enabled
# If the firewall does not exist, create one
New-NetFirewallRule -Name sshd -DisplayName 'OpenSSH Server (sshd)' -Enabled True -Direction Inbound -Protocol TCP -Action Allow -LocalPort 22
Now you’ll be able to SSH into your Windows machine just like any other
machine. This will require your password, not your passcode if you’ve set one
up. If you’re like most people and have set up your login to be your Microsoft
account, it’s just the password to your Microsoft account. If you’re only
doing interactive sessions you can stop here and just run bash or wsl when
you log in. However, such a setup prevents you from using things like Ansible
for configuration and limits the ability to use some programs like scp and
rsync.
Set SSH Shell to Powershell
Powershell isn’t perfect, but it’s a lot better of a shell than boring old cmd.exe or command.com if you’re really old. This command will set your login shell to be Powershell when you connect over SSH.
New-ItemProperty -Path "HKLM:\SOFTWARE\OpenSSH" -Name DefaultShell -Value "C:\Windows\System32\WindowsPowerShell\v1.0\powershell.exe" -PropertyType String -Force
Now, you should be able to ssh username@WINDOWS_MACHINE_IP and connect to an Powershell session. If you’re really unambitious, you can stop here and just type wsl everytime you log in, but that’s kinda lame.
Enable WSL2 SSH Server
There are a few more steps necessary here. You’ll read some guides that describe complicated processes with opening firewall rules, which might change all of the time, or perhaps making it so you use Windows auth for Linux, which isn’t great either (it break many programs if you have a shell other than bash). This writeup makes the assumption that you’re running Ubuntu as your WSL2 distribution.
Install SSH Server
sudo apt install openssh-server
Configure Your SSH Server
Because there is already a Windows Powershell SSH server running on port 22,
you’ll need to run SSH on some other port. You can set this up by creating a
file called port.conf in /etc/ssh/sshd_config.d:
#
# this makes it so OpenSSH listens on port 2222
#
Port 2222
ListenAddress 0.0.0.0
ListenAddress ::
Using this command your WSL based SSH server should be running on port 2222.
Give Your User Permission to Start the SSH Server Without a Password
In order to start the server without a password, you need to give your user
account permission to run /usr/sbin/service without entering a password. To
do this, you’ll add one line to /etc/sudoers. First, edit the file:
sudo visudo
Then add the following lines to the file. Anywhere works, but I usually add
them near the end. Obviously, replace pwagstro with whatever your username
is.
pwagstro ALL=(ALL:ALL) NOPASSWD: /usr/sbin/service
You can then test this by running:
sudo service ssh start
If you didn’t get an error, you should be good to go.
Copy Over Your Public Key
The configuration presented here doesn’t allow for passwords over SSH. You’ll
need to make sure that you copy your existing public key, usually something
like ~/.ssh/id_rsa.pub over to the WSL2 instance and put it into
~/.ssh/authorized_keys.
Magical Port Forwarding in Windows
One of the banes of using WSL2 is that the ports aren’t exposed outside of the local Windows machine. There are many hacks for this, but I’ve always found them completely lacking. Some searching led me to a recent Reddit thread on the topic where someone posted a link to a little program called WSLHostPatcher that takes care of the problems for you. The way this program works is that you start WSL and then start WSLHostPatcher and then any port that is opened in WSL to your Windows instance is then exposed to your network.
I downloaded this program, and after looking at the source code (which is
really easy to parse), placed it C:\Program Files\WSLHostPatcher.
Create the Windows Batch File
Now, to stitch everything together you’ll need to do the following:
- Start WSL
- Start WSLHostPatcher
- Start SSHd in WSL
WSL starts ups the first time that a command is sent to it. In this case, we
can literally just run the exit command and your WSL instance will start up.
Thus, it’s just a matter of creating the following Windows batch file and
saving it somewhere. In my case, as my Windows username is patrick and my
home directory is c:\Users\patri, I just dropped the file in there and named
it wsl_ssh.bat.
rem This starts up everything for WSL2
C:\windows\system32\wsl.exe -e exit

rem and then it starts up WSLHostPatcher
C:\"Program Files"\WSLHostPatcher\WSLHostPatcher.exe

rem Finally, it starts the SSH server
C:\windows\system32\wsl.exe -e sudo service ssh start
Have Windows Execute the Batch File on Startup
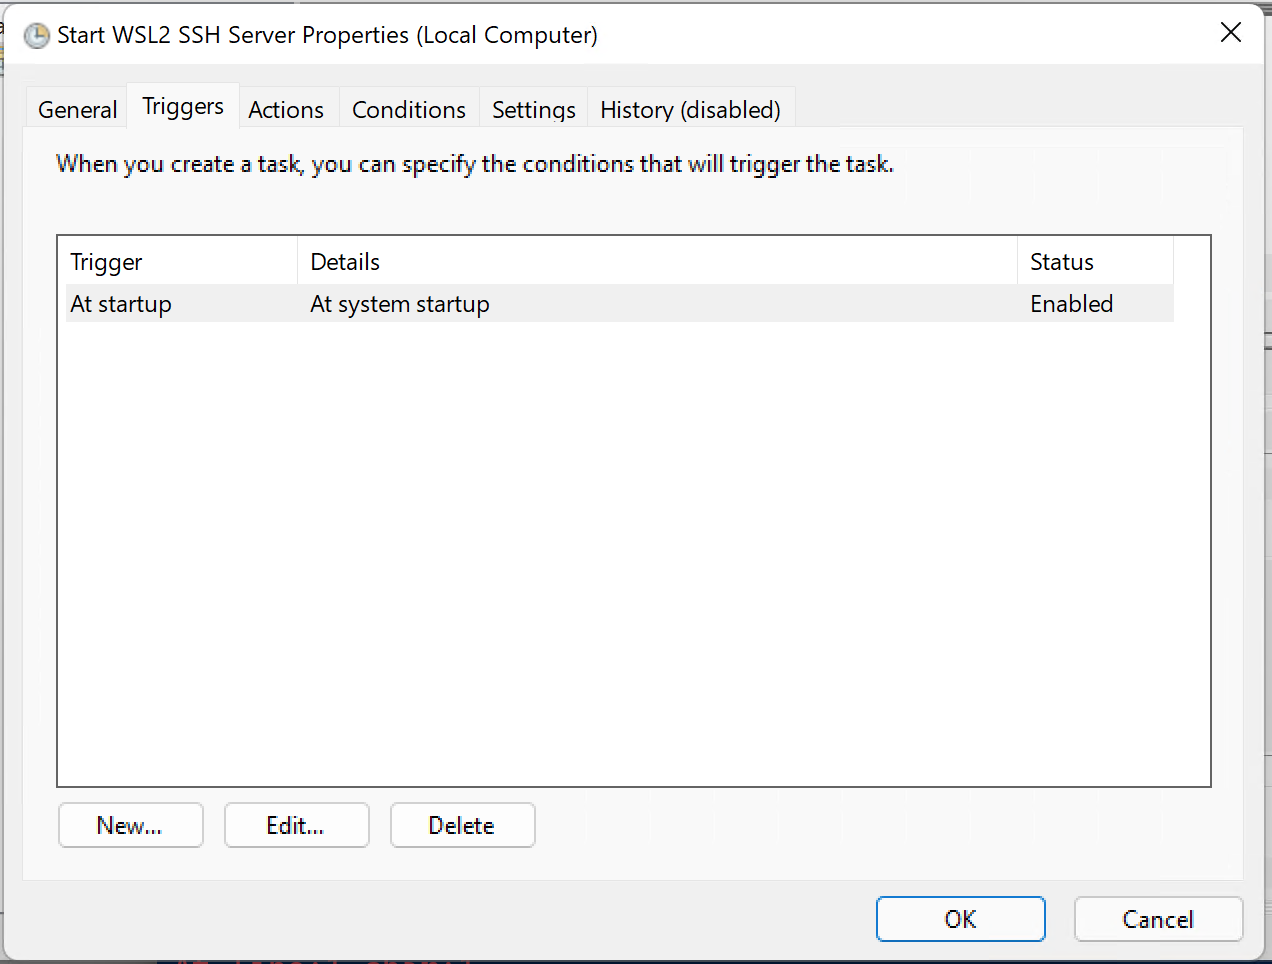
The final step is to make it so Windows executes this on system boot using Task Scheduler. Open up Task Scheduler (just click on the Start menu and start searching for “Task” to find it) and create a new basic task.
The trigger should be set to “At System Startup” as shown below:

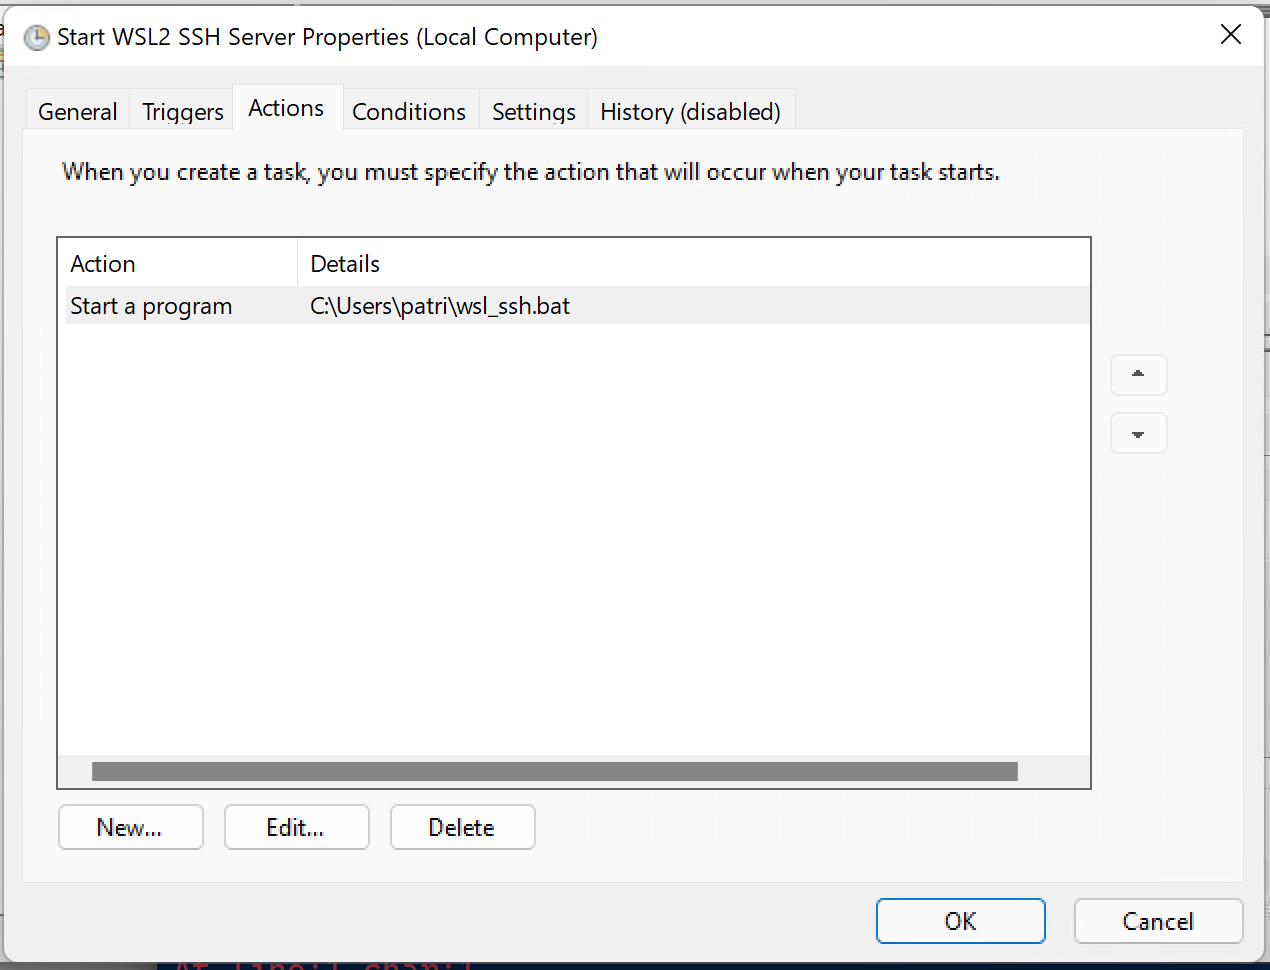
The task should be to start a program, in this case, I’ve selected
c:\Users\patrick\wsl_ssh.bat.

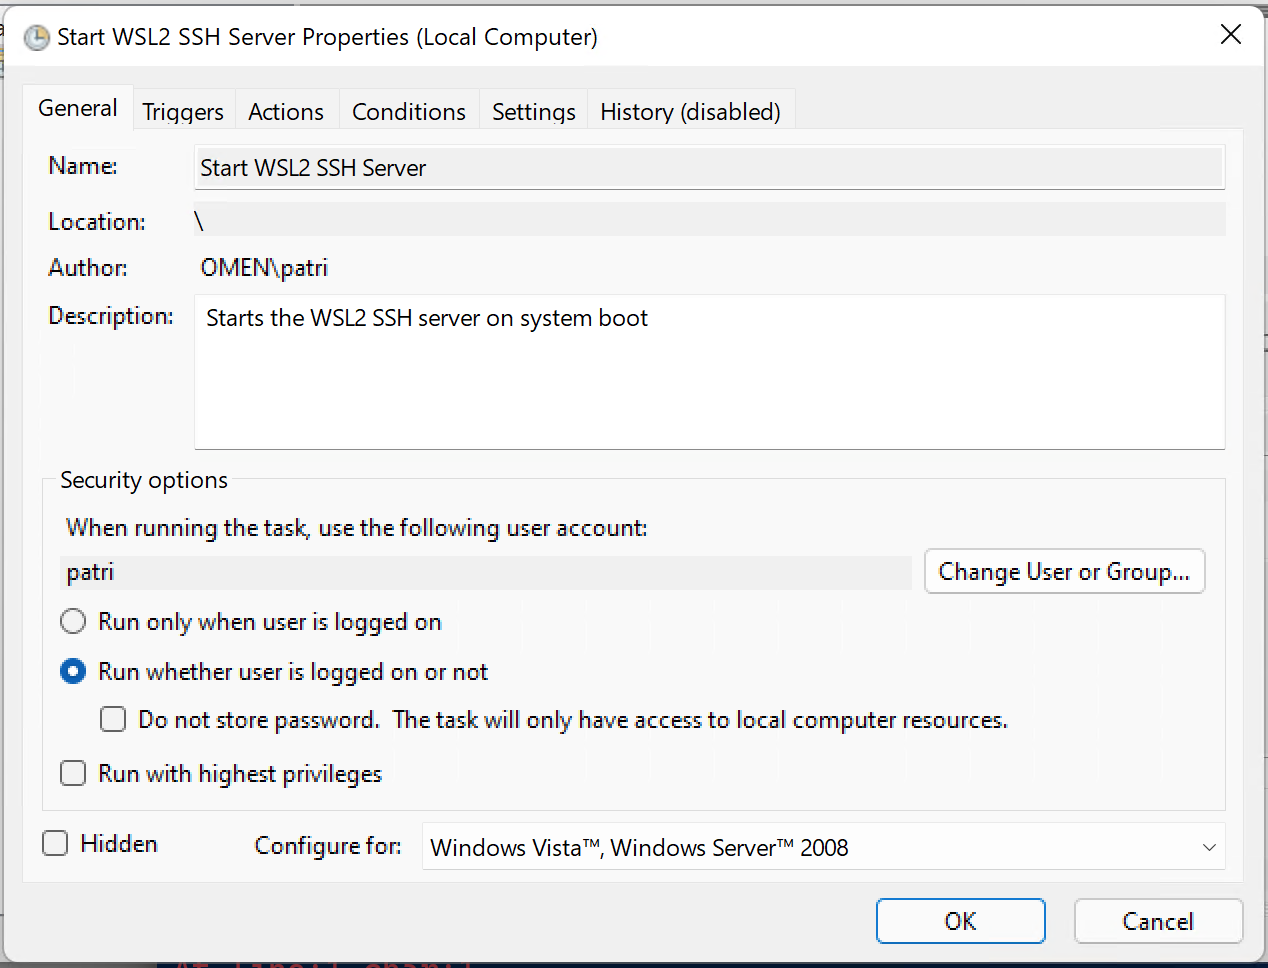
And finally, this should be set so it runs even when there isn’t anyone logged in. You don’t want to make it so you need to log into the machine on the desktop before you can SSH into WSL. Check the box that says “Run whether the user is logged in or not”

Testing the Connection
Now, if everything goes correctly, you should be able to run the following command and authenticate with your WSL2 Linux user password.
ssh -p 2222 username@WINDOWS_MACHINE_IP
Disadvantages
There’s a few disadvantages to this method, but they are no worse than any other method that I’ve seen for SSHing into WSL2.
First, this seems like it might break some of the WSLg support in WSL2 that allows for easy use of graphical applications in WSL2. I still need to some digging on this, because it doesn’t look like it’s 100% consistent. In some cases, this is certainly a deal breaker, but it’s not always broken for me, so I can still get Emacs to work most of the time.
Second, is that WSLHostPatcher doesn’t support UDP. You’ll see this be an issue when you want to use something like Mosh, which relies on UDP packets to re-establish sessions. This is not a shortcoming of WSLHostPatcher so much as it is a shortcoming of the way that way that the Hyper-V adapters in windows work.
Third you’re running another binary, WSLHostPatcher. You may not like that, but fortunately the code is simple and easy enough to read. It looks straightforward and doesn’t appear to be doing anything really odd.
Alternatives
I wouldn’t be writing this if I didn’t think this was one of the best and easiest ways to handle SSHing into a WSL2 virtual machine. I’ve seen a few other people suggest setting up a bridged network adapter in WSL2, which probably is an even better solution if you’re like me and have a hardwired connection and fine-grained control over your network. Maybe I’ll do a writeup on that later.